Your first trip: excitement vs overwhelm
At my first international check-in, I watched the line split into three “simple” options—self-tag, desk, bag drop—and immediately felt my confidence leak out. Nothing was actually hard, but everything was new at once: screens, rules, announcements, and the quiet fear that one wrong tap would cost money or time. That rush of excitement is real; so is the mental traffic jam it creates.
What helped wasn’t more research—it was choosing a few defaults and accepting small compromises. Carry-on only can mean doing laundry mid-trip, but it saves you from baggage waits and lost-luggage stress. One neighborhood base is less “optimal,” yet it cuts decision fatigue when you’re jet-lagged and streets all look similar.
My 10-point starter checklist: 1) passport + photo backup; 2) entry requirements confirmed; 3) first-night address saved offline; 4) one card with no foreign fees; 5) a little cash for transit; 6) phone plan/eSIM set before landing; 7) airport-to-lodging route chosen (with a backup); 8) one small medical kit; 9) one “nice” outfit max; 10) a half-day left intentionally unscheduled for delays or surprises.
Plan the basics: dates, pace, priorities
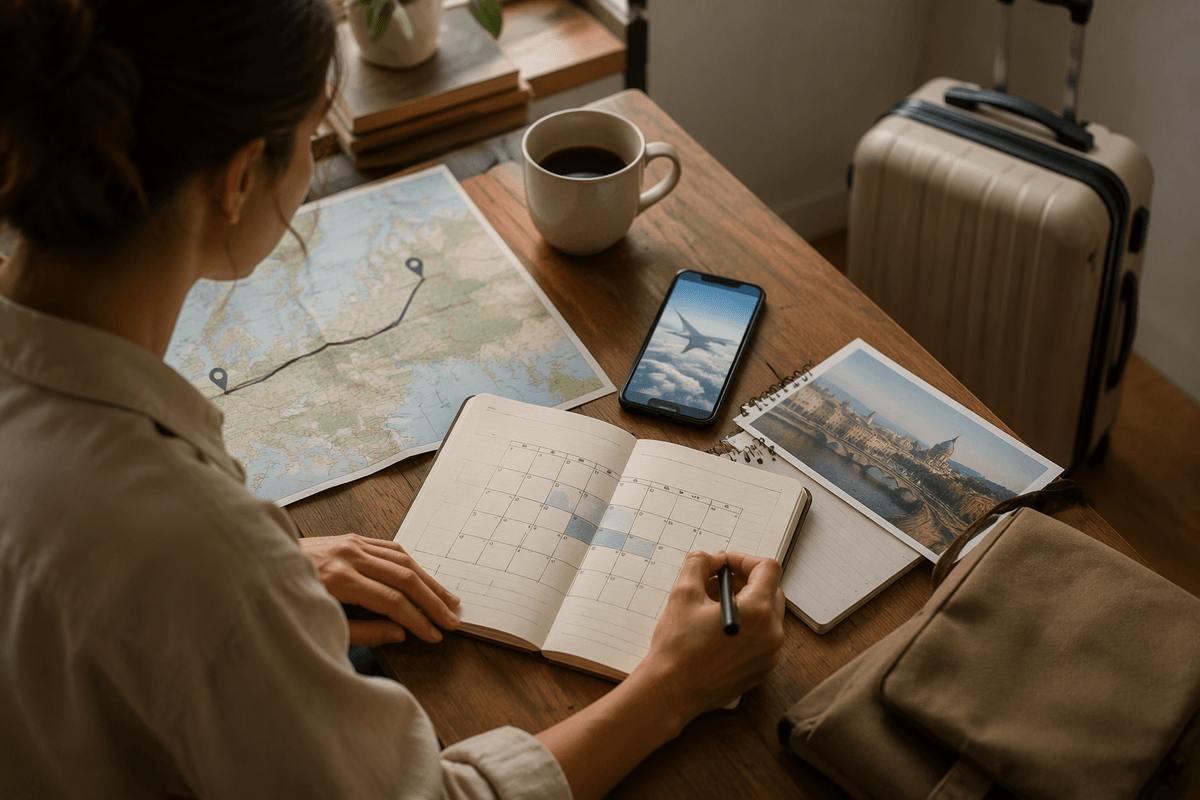
I learned the hard way that the “perfect” itinerary usually collapses the moment your flight lands late and your brain is running on fumes. On a 7–10 day trip, the first planning decision that actually matters is your pace: are you trying to see three cities because it sounds efficient, or one city plus one easy side trip because you want to feel competent on day two?
If you’re new to international travel, pick dates that reduce friction, not just cost. A midweek arrival can mean calmer airports and easier check-ins, but it might force an extra vacation day. I generally plan one primary base for at least 4–6 nights; moving every other day looks exciting online, but it eats time in packing, transit, and re-orienting—especially if you’re sharing decisions with a friend and both of you are tired.
Then set priorities in plain language: one “must-do” per day, one flexible option nearby, and a hard stop time. Late nights can be fun, but they quietly break the next morning’s plans. I also schedule the most logistics-heavy day (long train, museum tickets, big market) after I’ve had one full night of sleep, not day one.
Money, documents, insurance: don’t get stuck
I almost got caught at a ticket machine because my card kept failing and the line behind me was doing that quiet, international sigh. It wasn’t fraud, it wasn’t “my bank hates travel”—it was just a card-reader mismatch plus me not having a backup. Money and documents aren’t exciting prep, but they’re the stuff that turns a normal day into a stalled, stressful one fast.
Before you leave, take five minutes for three layers: digital, physical, and “what if.” Digital: screenshot/scan your passport photo page, visas (if any), and travel insurance card, and save them offline (cloud doesn’t help when you can’t log in). Physical: carry one primary card and one backup in a different place; a small amount of local cash is worth it for tips, older taxis, or a transit machine that only likes coins. “What if”: tell your bank your travel dates, and write down one number to call if your card gets blocked—finding it while panicking is harder than you think.
Insurance is the boring seatbelt: you’ll hate paying for it until you need a clinic visit, a stolen phone, or a delayed flight that triggers extra hotel nights. I buy a simple policy when my trip is short but expensive to replace (flights, nonrefundable stays); if you’re staying flexible and booking as you go, you can often keep coverage minimal.
Pack light, pack smart: essentials only
The night before I fly, my weak spot is always “just in case” packing—until I remember how it feels to drag an overstuffed bag up stairs and then repack it on a tiny hotel bed. Carry-on-only keeps you mobile, but it forces tighter choices (and occasionally a sink-laundry session when plans run long).
My 10-point packing starter checklist: 1) one comfortable walking shoe (already broken-in); 2) 2–3 tops that layer; 3) 1 warmer layer (even in “warm” places, planes and evenings get you); 4) 1 rain shell/compact umbrella; 5) 5–7 days of underwear/socks (plan one laundry reset); 6) toiletries in a truly TSA-sized bag; 7) meds + a few basics (pain/anti-diarrheal/bandages); 8) outlet adapter + one charging brick; 9) small day bag you can zip; 10) one empty foldable tote for groceries or overflow.
If you’re tempted to pack a second outfit category (gym, hiking, “nice dinners”), pick one—otherwise your bag becomes your whole trip.
Airports, transport, lodging: smooth logistics
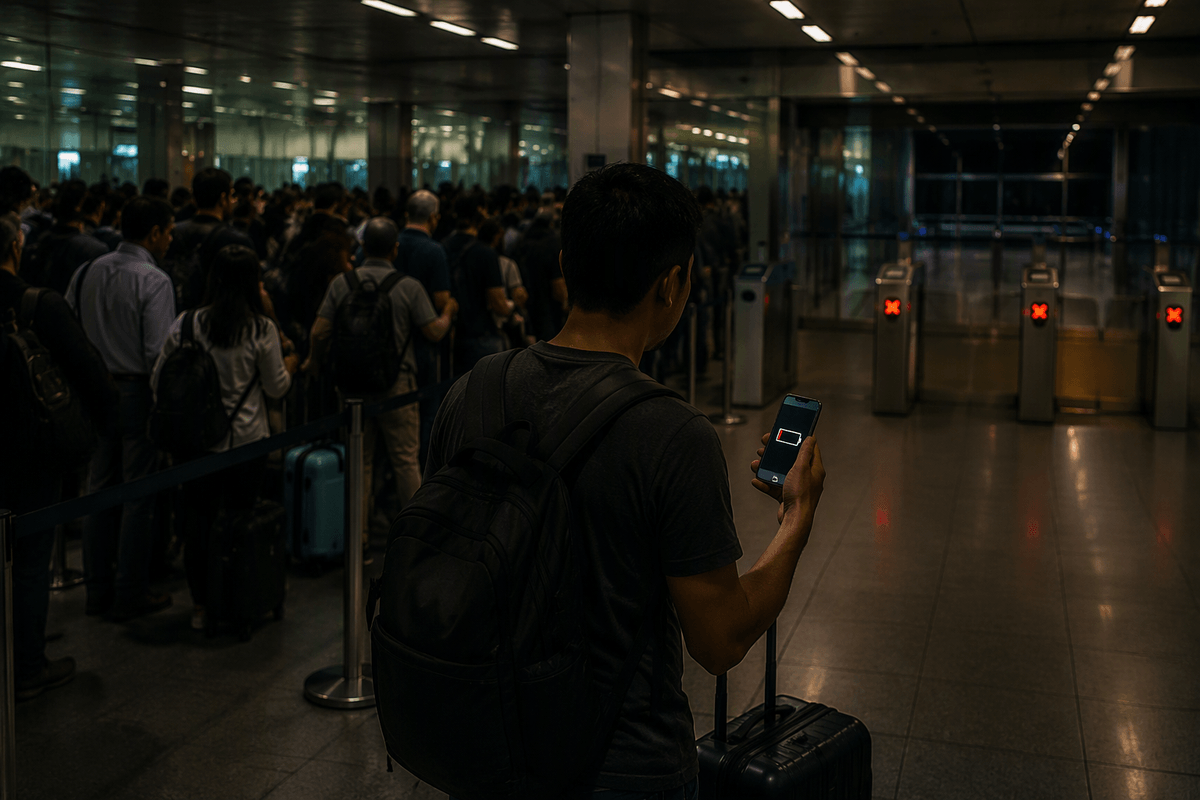
I used to treat the arrival airport like the “end” of the travel day—until a delayed landing dumped me into immigration lines, a closed metro gate, and a phone with 3% battery. Airports punish optimism: if you cut it close, you’ll feel it in missed trains, surge-priced rides, or a panicky check-in message at midnight.
My 10-point starter checklist for smooth logistics: 1) check in online and screenshot your boarding pass (apps glitch); 2) pack one “security pouch” (liquids, charger, headphones) so you’re not repacking on the floor; 3) budget an extra 45–60 minutes for big airports; 4) choose a seat based on your goal (aisle for bathroom/standing, window for sleep); 5) know your last-train time from the airport; 6) save the airport-to-lodging route in offline maps; 7) keep your lodging address in the local language for drivers; 8) message your arrival time (late check-ins can fail); 9) pick lodging with easy entry if you land late (24-hour desk beats a finicky lockbox); 10) pay a little more for location over “bigger room” when you’re new—extra transit adds up fast.
Safety, etiquette, and staying connected
On one of my earliest trips, I stepped out of a station feeling proud—until I realized I was holding my phone like a glowing sign that said “lost tourist.” Nothing bad happened, but it was a useful correction: you don’t need to be paranoid, you just need fewer exposed weak points when you’re tired, distracted, and learning the local rhythm.
My 10-point starter checklist for safety + etiquette + staying connected: 1) keep your passport on you only when needed; otherwise lock it up and carry a copy; 2) use a crossbody/zip bag in crowded areas (back pockets fail you); 3) split essentials (one card + some cash in a second spot); 4) learn “hello/please/thank you/sorry” and the local volume level—being quiet often works better than being correct; 5) default to asking before photos (markets, kids, religious sites); 6) check common scams for your city once, then stop doom-scrolling; 7) set up an eSIM/plan before landing, plus one offline map area; 8) carry a small power bank—navigation drains batteries fast; 9) share a live location or daily “I’m back” check-in with one person at home; 10) when it feels off, leave early—missing one drink is cheaper than fixing one bad night.
Leave room for mistakes—and great surprises
The first time I built “free time” into a trip, I felt irresponsible—like I was wasting a precious day. Then a museum line doubled, my phone signal lagged inside thick walls, and I realized the schedule was the thing making me anxious, not the city. A small buffer doesn’t make you less efficient; it keeps one hiccup from turning into a chain reaction of missed reservations and rushed meals.
I try to leave one soft afternoon and one early night in a 7–10 day plan, even if it means skipping a far-flung attraction. You’ll spend that margin on something unglamorous (laundry, a slower dinner, a nap) or on something you didn’t know to want (a street performance, a neighborhood you wandered into by accident). Both are “the trip,” and both get harder when you’re running on fumes.
If you’re deciding what to cut, cut the thing that forces you to sprint across town at a specific hour—then let the day breathe.